Getting a rave outfit together is often times the most challenging part of planning the experience, for me at least. Some things you always need to consider are: weather, the commute, is it a holiday?? , and the venue. While pondering all these factors for Countdown 2017 I discovered I had a few major needs for my fit that I needed to meet.
- warmth– with this being my third Countdown I knew what to expect. I froze to near death at my first, and spent almost the entirety of last year in some too thin sweats and the sweatshirt I bought the previous year.
- hood– last year it rained and while I can get my dreads wet, I prefer not to unless I can blow-dry them immediately
- New Years Eve– me being me and Countdown being a countdown into the new year, of course I knew it was going to be expected of me to go BIG

Rave day was Saturday; I started this on Tuesday. I started by taking my measurements and drafting a front and back jacket piece. I have made a mens coat before, and I wanted it to fit a little big- these are my reasons for choosing mens over womens pattern piece. Then I cut out a muslin sample of these pieces and fit them to my Singer adjustable body form which I have set to my measurements. I fit the garment to my liking and drew directly on the muslin my new sew lines.
Drafting the sleeves– This is the part I was most anxious for. To draft the sleeve I measured the diameter of the armhole of the muslin sample to figure out how big I needed the cap of my sleeve to be. I then measured my arm- I placed the tip of the tape at my shoulder tip and followed along down my arm and around my bent elbow to my wrist. With these measurements I winged it by drawing a sleeve I was hoping would fit. After I cut out the sleeve in muslin I fit it to the sample jacket I had and thankfully the cap did fit. The sleeve itself was a little tight and a few inches too short, but those were easy fixes…widen and elongate!
The last thing to do was get a hood pattern piece. I had never sewn in a hood but it was necessary and I was excited. A quick google search showed me what a hood pattern piece looked like and I figured I could wing it from there. I measured the neckline of the sample jacket and went to work drawing up a hood. When I initially sewed it in it fit nicely at the neckline, but wasn’t as bulky of a hood as I had wanted. I expected this would be the case because I didn’t know what the pattern piece of the hood style that I wanted would look like. Again such an easy fix.
Day 2 of working on my fur:
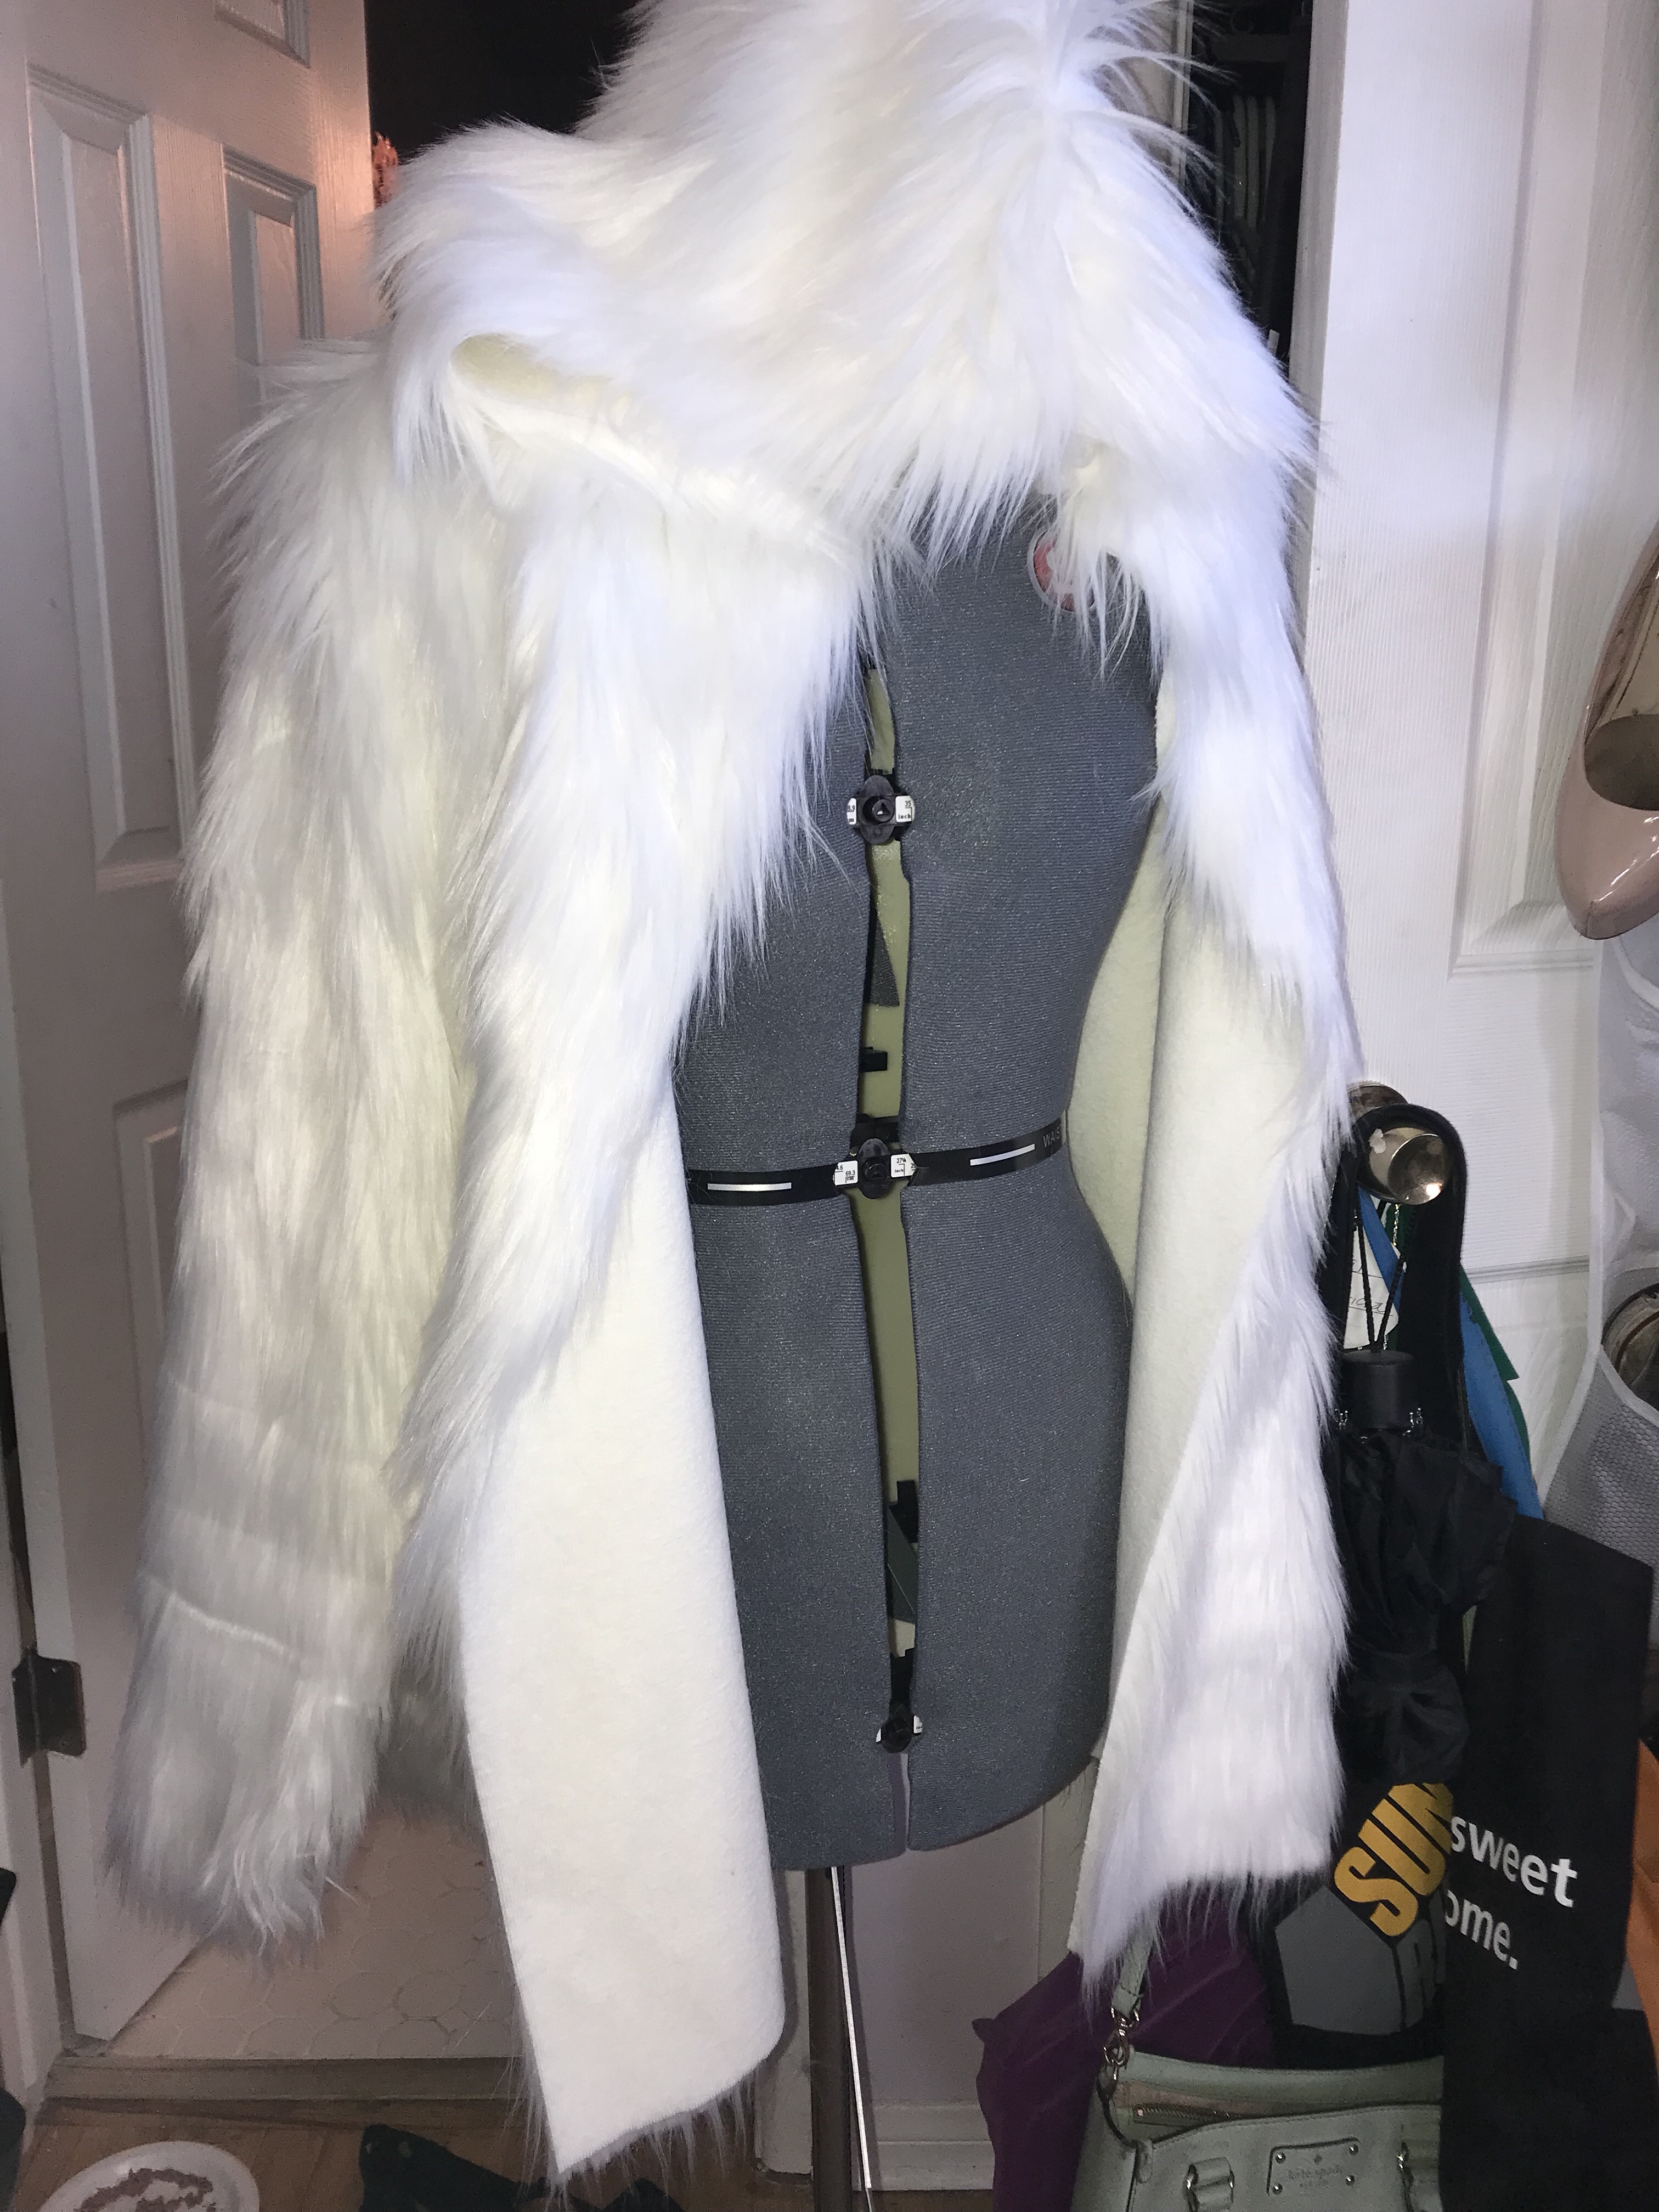
I cut out the faux fur fabric (face down) and sewed up the garment. I got this fabric 40% off thankfully because it is not cheap. Almost everything fit perfectly. I had to bring out my shears and trim a few things here and there but overall it fit well. I impressed the hell out of myself with the hood, it is exactly what I wanted.
Day 3 of working on my fur:
I cut out the lining which I think is normally any type of silky material but that would for sure not keep more warm so I went with something a little thicker. I used a nice crème colored fleece that was also on sale which matched beautifully. I sewed it up the exact same way I did the fur the day before.
Day 4 of working on my fur:
Time to sew in the lining and finish the raw seams. This took time and precision. I laid the lining into the coat WRONG sides together ( exactly like it would be worn) and began to hand stitch the seam from hoods together. Then I sewed the necklines together, then the arm holes at the shoulder and continued working my way down to the side seam. This step took a little longer than I expected it to so I was still working until the morning of rave day…. but when am I not.
Day 5:
The morning of rave day I turned back the center fronts and hand stitched them 1 1/2 inches. I carried that up into the hood for a nice clean edge. Once done with the jacket I decided it needed one more thing. A POCKET!! I hate carrying my stuff in fanny pack because when I went to jump and head bang I don’t like it bouncing there on my body, and I’d rather not put my stuff in someone’s backpack because chances are I’m never going to take a turn holding it. LOL. I arbitrarily measured my phone and the girth of some tampons and my portable charger and cut out a piece of fur big enough to hold it all. A whip stitch got that pocket to where it needed to be, and it held up all night.
Believe it or not, she was not that hard to make. I got many many compliments on it, one girl even asked for a photo shoot in it (which I allowed of course). I plan on making more to have available in my online shop I’ll be opening early next year.


Leave a comment